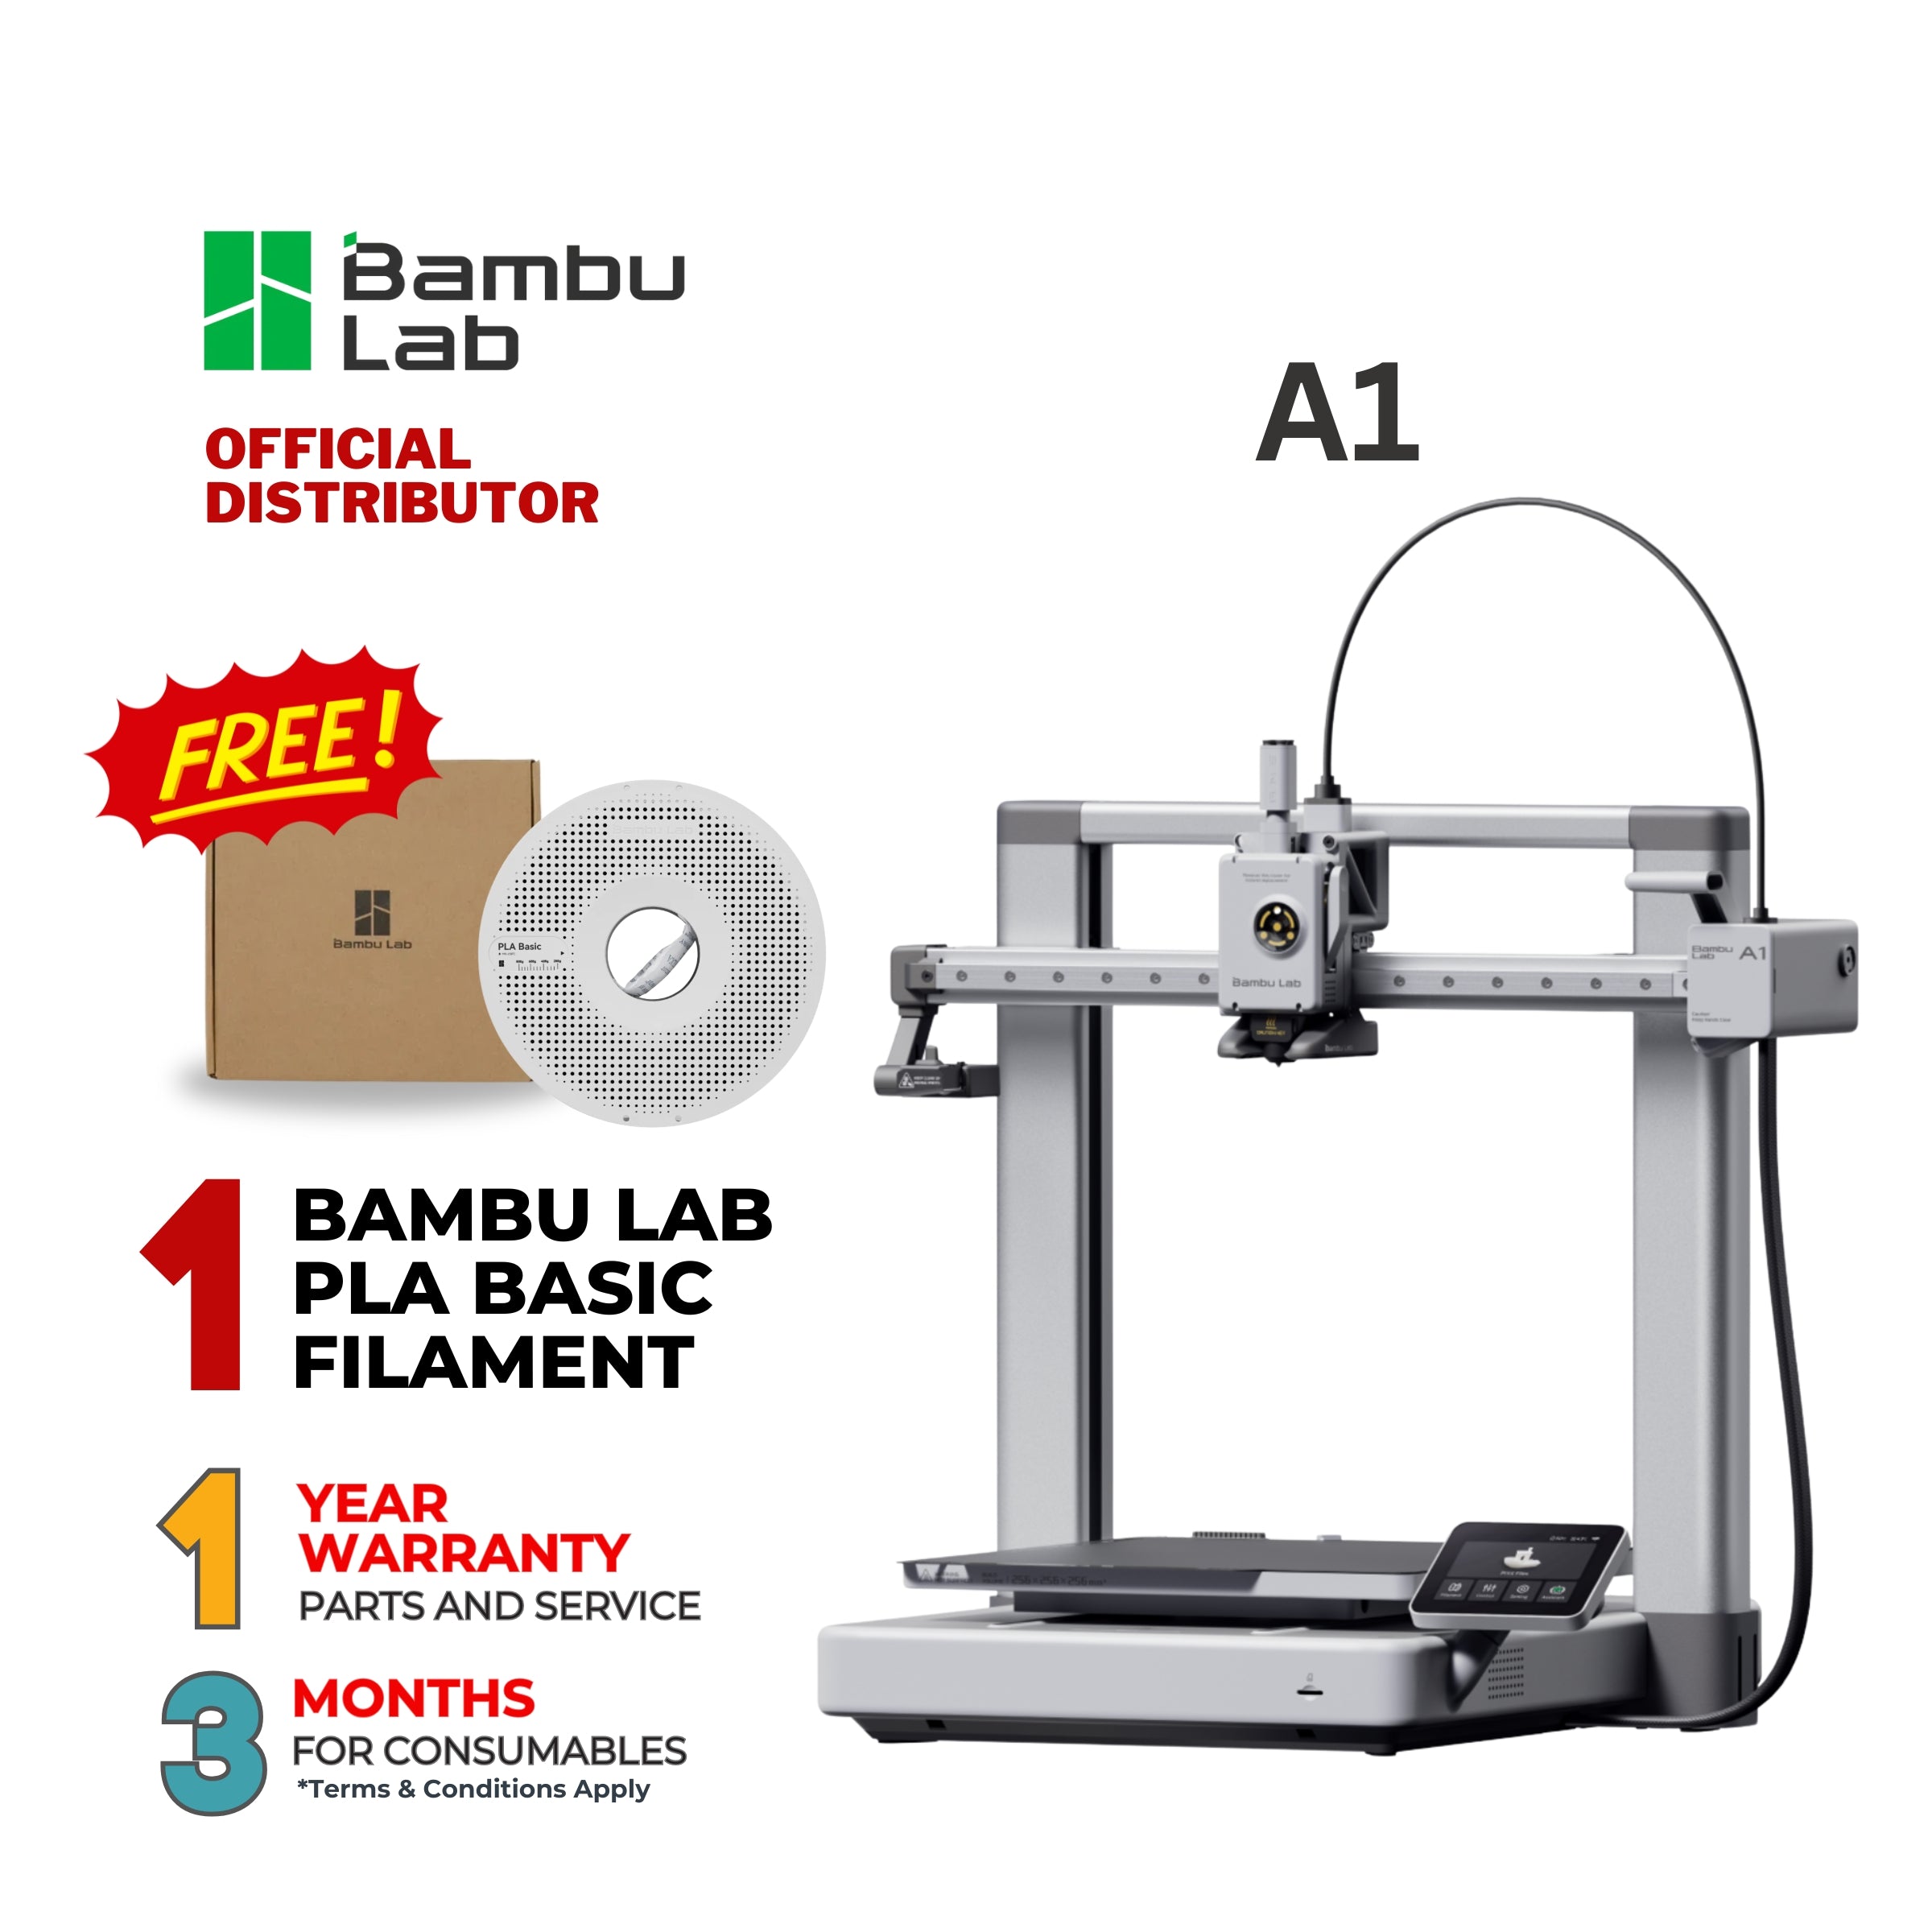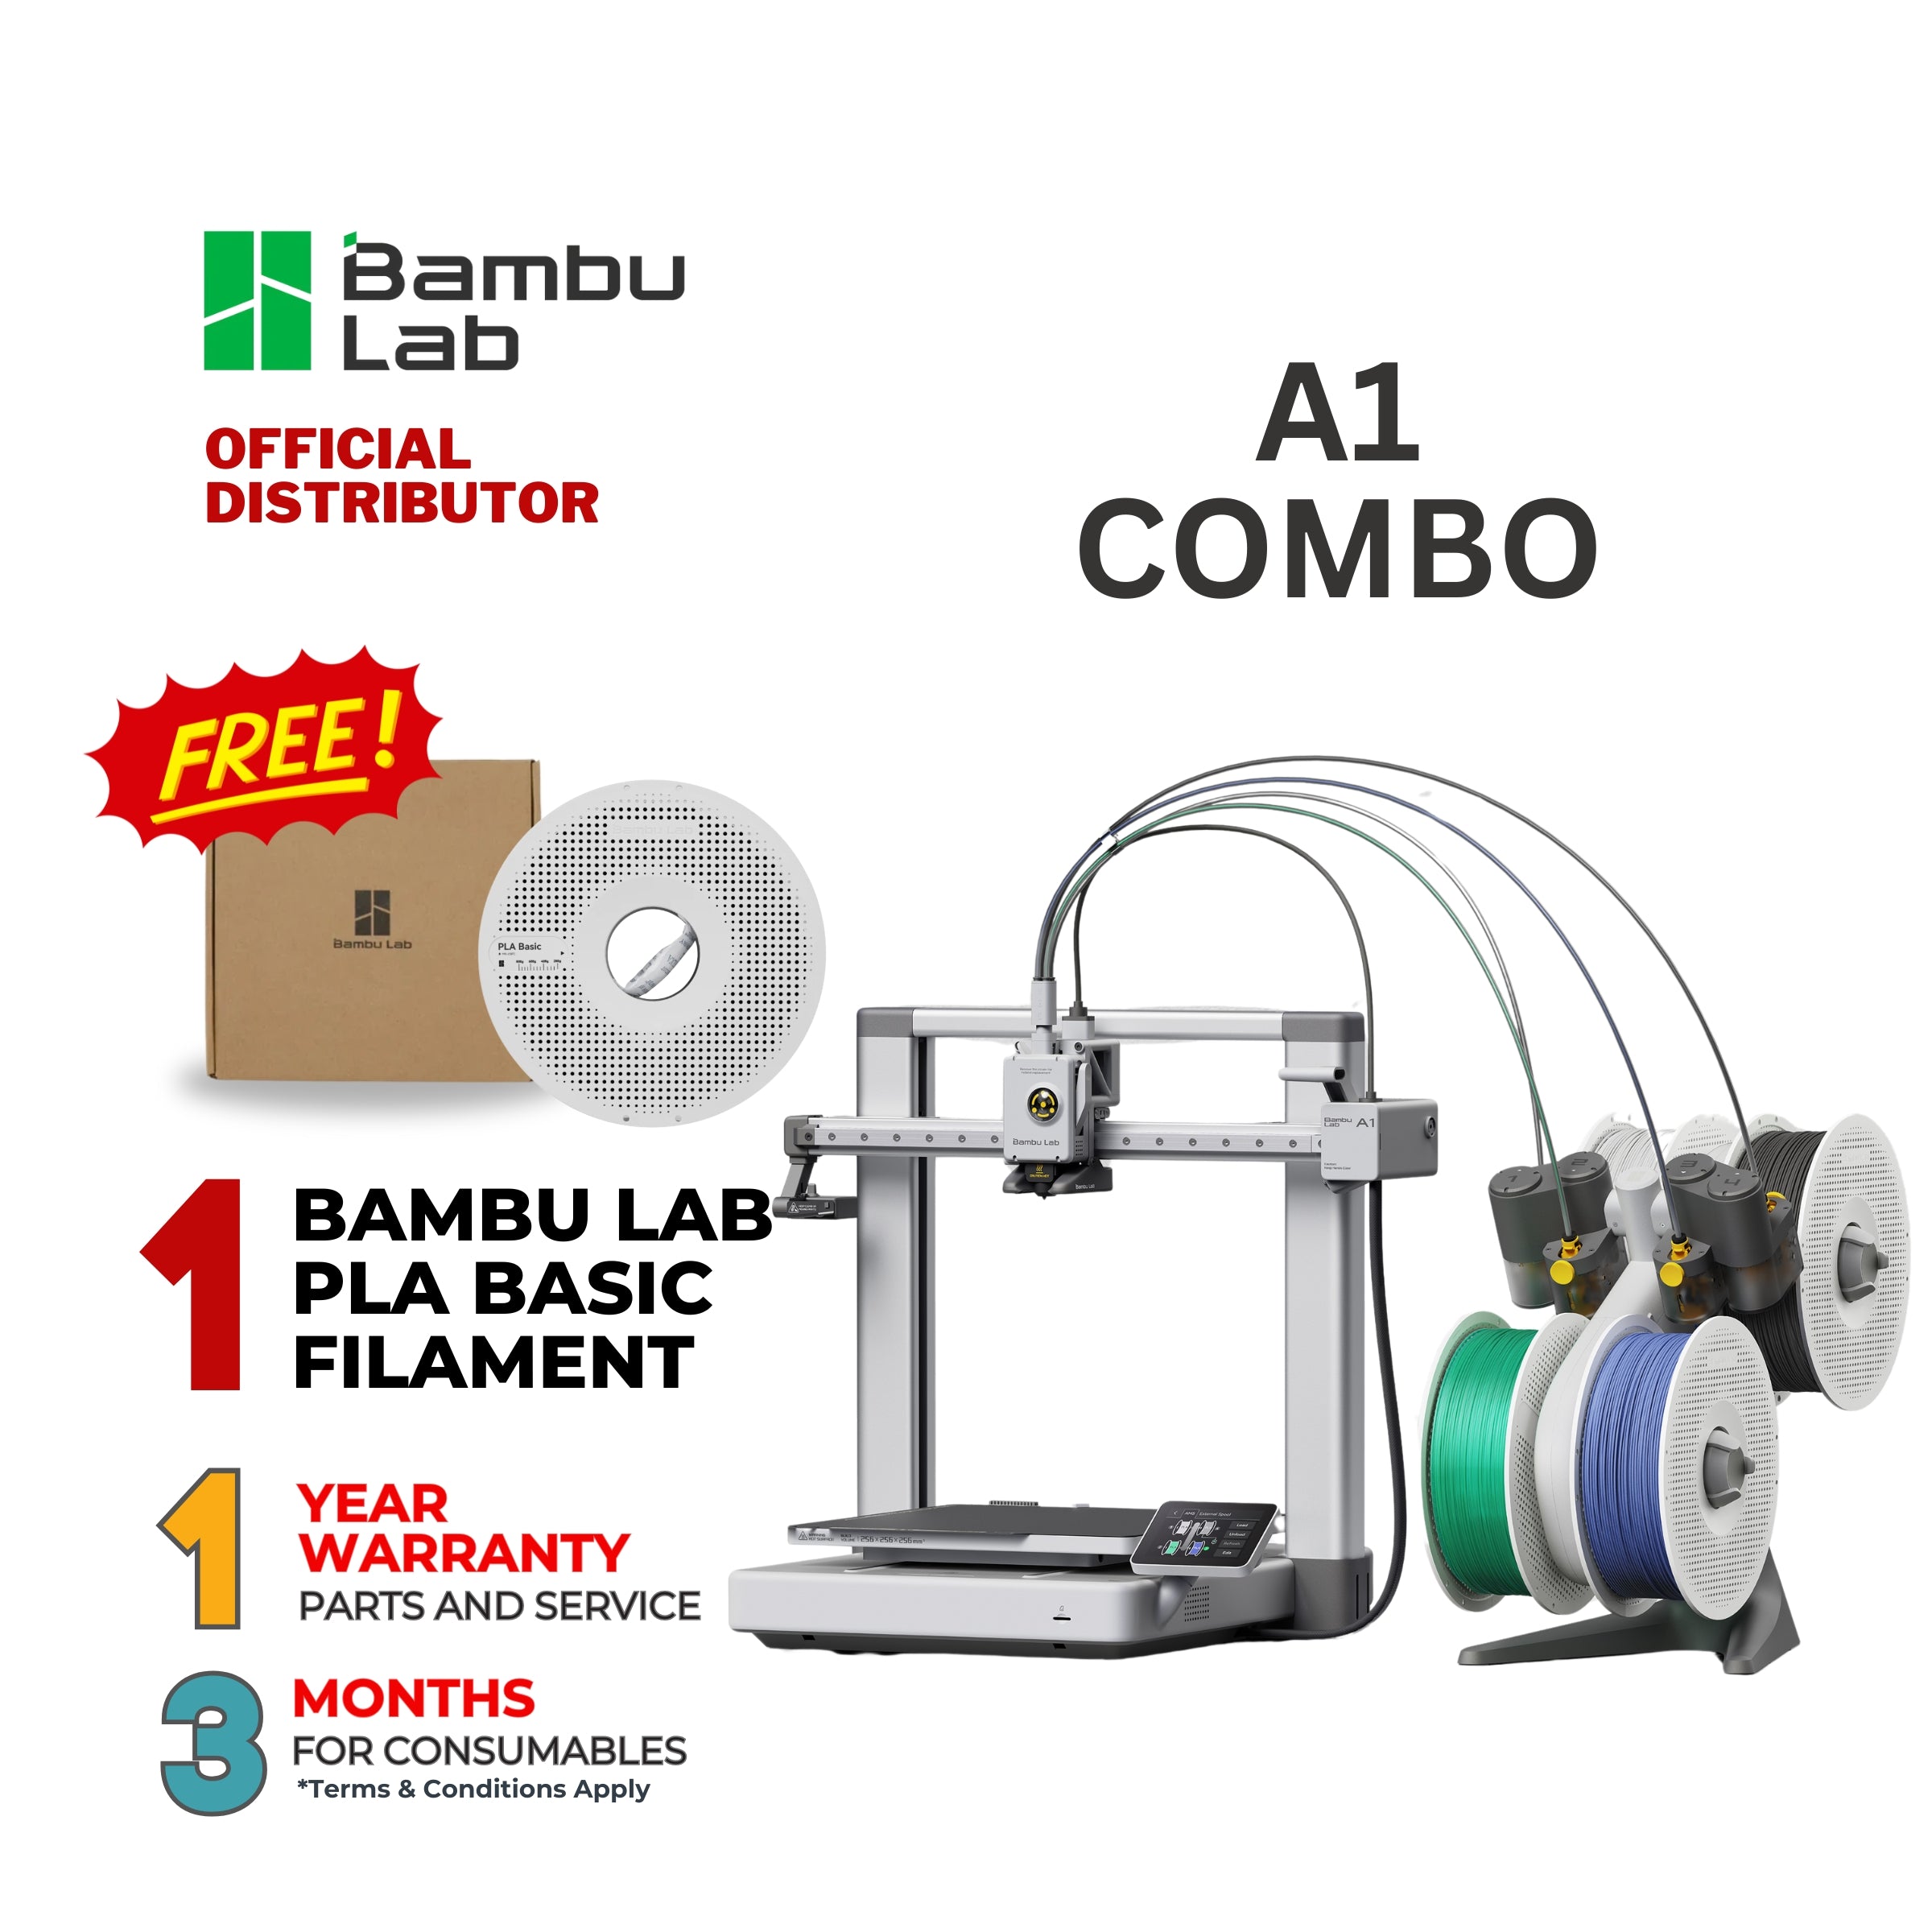
Bambu Lab A1 Series: Everything You Need to Know About the A1 and A1 Mini
Choosing between the Bambu Lab A1 and Bambu Lab A1 Mini? This guide explains the differences, what to expect, and a short tutorial to get you printing fast—plus official pricing from Makerlab Electronics Philippines.
What You Should Know About the A1 Series
1) Build Size & Workspace
- A1: Larger build volume—great for big models, functional parts, or batch printing.
- A1 Mini: Compact footprint—ideal for classrooms, dorms, and small workbenches.
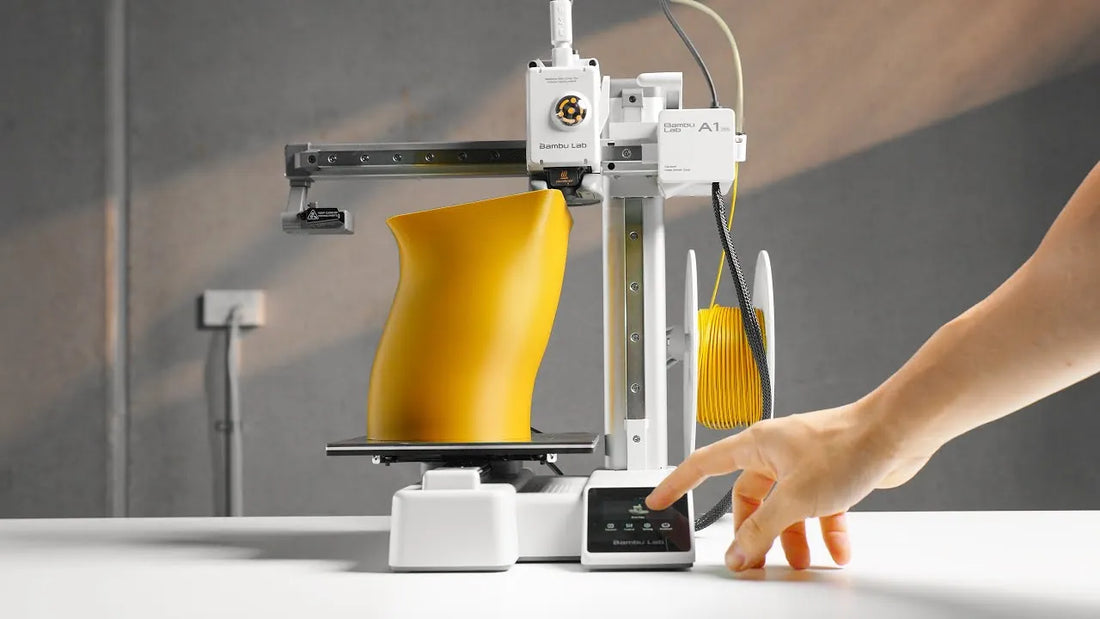
2) Printing Performance
- High-speed printing with consistent accuracy.
- Automatic bed leveling and smart calibration reduce setup time.
- Stable motion system delivers clean surfaces and detailed parts.
3) Software & Connectivity
Works with Bambu Studio (desktop slicer) and the Bambu Handy mobile app for slicing, monitoring, and managing prints locally or over Wi-Fi.
4) Filament Options
Compatible with a wide range of materials: PLA, PETG, TPU, ABS, and select specialty filaments. Combo versions include AMS (Automatic Material System) for multi-color or multi-material jobs.
5) Local Warranty & Support
Buy from Makerlab Electronics (official distributor) for a 1-year warranty (parts & service) and 3 months coverage for consumables, plus a free filament bundle offer on eligible SKUs.
A1 vs A1 Mini: Quick Comparison
| Feature | Bambu Lab A1 | Bambu Lab A1 Mini |
|---|---|---|
| Build Volume | Larger—suited for bigger parts & batch prints | Smaller—optimized for compact spaces |
| Best For | Professionals, serious hobbyists, workshops | Students, beginners, home makers |
| AMS (Combo) | Available on A1 Combo | Available on A1 Mini Combo |
| Price (Makerlab PH) | ₱18,999 Standard · ₱27,999 Combo | ₱12,999 Standard · ₱22,499 Combo |
Quick Start Tutorial: First Print on the A1/A1 Mini
- Unbox & Place: Put the printer on a stable, level surface with good ventilation.
- Power On & Guide: Follow the on-screen startup wizard for basic checks and calibration.
- Load Filament: Mount your chosen filament on the spool holder and feed along the guided path into the extruder until it grips.
- Slice Your Model: Open Bambu Studio, import an STL/3MF, choose a profile (e.g., 0.2 mm), set infill (e.g., 15–20%), and generate G-code.
- Send to Printer: Transfer via Wi-Fi or SD card. On the screen, select the file and start.
- Monitor: Watch the first layers; pause if adhesion looks poor (clean bed, adjust temperature if needed).
- Remove & Finish: Let the bed cool, flex or gently lift to release the part. Trim supports, then sand/paint if desired.
Tip: Keep a simple “first print” like a calibration cube or keycap puller to validate settings before longer jobs.
Official Pricing & Where to Buy (Philippines)

Bambu Lab A1
Standard: ₱18,999
Combo (with AMS): ₱27,999

Bambu Lab A1 Mini
Standard: ₱12,999
Combo (with AMS): ₱22,499
Buy only from the official distributor Makerlab Electronics for authentic units, local warranty, and after-sales support. Visit the Manila store at 1231 Tomas Mapua Street, Manila or purchase via Makerlab’s official online channels.