Getting Started: M5Stack Core2
M5Stack Core2
This second generation core device is a M5Stack Development Kit Series which provides an enhanced function of the original generation of M5Stack cores. It is based on ESP32 with built-in Wi-Fi; 16M Flash, 8M PSRAM; has built-in speaker, power indicator, vibration motor, RTC, I2S amplifier, capacitive touch screen, power button, and reset button. Additionally, it has a TF card slot which supports up to 16GB size for storage, built-in lithium battery equipped with power management chip, an independent small board built-in 6-axis IME, PDM microphone and M-Bus socket & pins. This core device runs on multi-platform development tools such as: UIFlow, MicroPython, Arduino, .NET nanoFramework, and Zephyr RTOS. For more info, go to https://docs.m5stack.com/en/core/core2
You may also get M5Stack Core2 here: https://www.makerlab-electronics.com/products/m5stack-core2-iot-development-kit-k010?_pos=1&_sid=444560b31&_ss=r?variant=42292882636991
|
M5Stack Core2 Specification |
|
|
Resources |
Parameter |
|
ESP32-D0WDQ6-V3 |
240MHz dual core, 600 DMIPS, 520KB SRAM, Wi-Fi |
|
Flash |
16MB |
|
PSRAM |
8MB |
|
Input Voltage |
5V @ 500mA |
|
Interface |
TypeC x 1, GROVE(I2C+I/0+UART) x 1 |
|
IPS LCD Screen |
2.0"@320*240 ILI9342C |
|
Touch Screen |
FT6336U |
|
Speaker |
1W-092 |
|
LED |
Green power indicator light |
|
Button |
Power button, RST button, Virtual screen button*3 |
|
Vibration reminder |
Vibration motor |
|
MIC |
SPM1423 |
|
I2S Power Amplifier |
NS4168 |
|
6-axis IMU |
MPU6886 |
|
RTC |
BM8563 |
|
PMU |
AXP192 |
|
USB Chip |
CP2104/CH9102F (two chip versions, there is no difference in function and use) |
|
DC-DC Boost |
SY7088 |
|
TF card slot |
16G Max |
|
Lithium Battery |
500mAh @ 3.7V |
|
Antenna |
2.4G 3D antenna |
|
Operating temperature |
0°C to 60°C |
|
Base screw specifications |
Hexagon socket countersunk head M3 |
|
Internal PCB board reserved interface |
Battery interface (specification: 1.25mm-2P) |
|
Net Weight |
52g |
|
Gross Weight |
76g |
|
Product Size |
54 x 54 x 16.5mm |
|
Package Size |
75 x 60 x 20mm |
|
Case Material |
Plastic ( PC ) |
UIFlow 1.0
UIFlow is a graphical programming IDE that supports wireless/wired program push which supports over 100 M5 hardware peripherals and sensors, supports one-click addition and expansion, effectively assists in product prototype construction and accelerates the development process to final production. UIFlow can be used using a web platform or a direct installation of its application.
CP210x VCP Driver
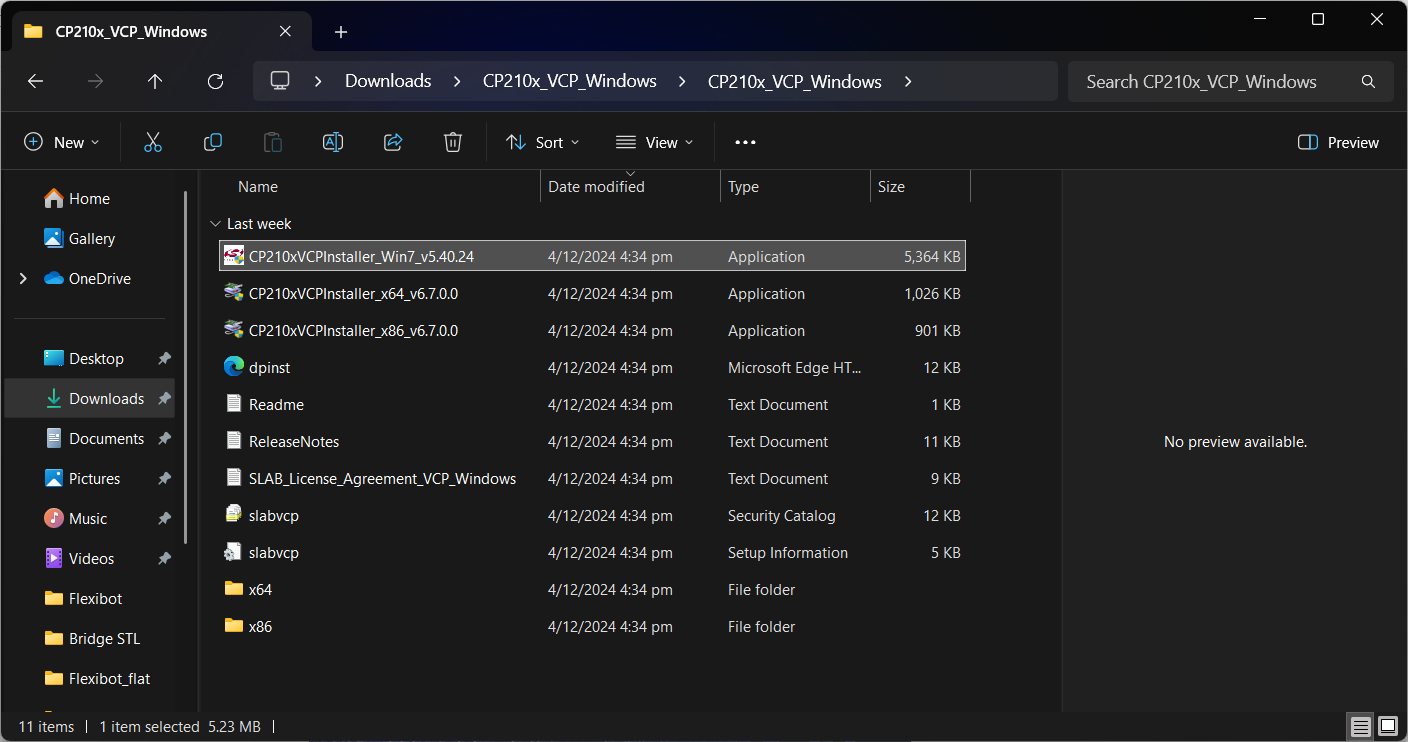
Before starting with anything else, we will download the driver first. Downloading the driver is pretty straightforward. Go to this link and extract ------> https://m5stack.oss-cn-shenzhen.aliyuncs.com/resource/drivers/CP210x_VCP_Windows.zip
M5Burner
M5Burner must be installed before getting started with the UIFlow IDE.
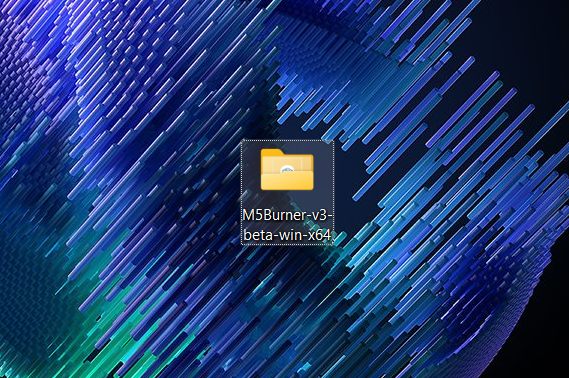
Step 1: Click the link to automatically download the M5Burner. Choose your corresponding Operating System. For this tutorial, we'll be using Windows -----> https://m5burner-cdn.m5stack.com/app/M5Burner-v3-beta-win-x64.zip
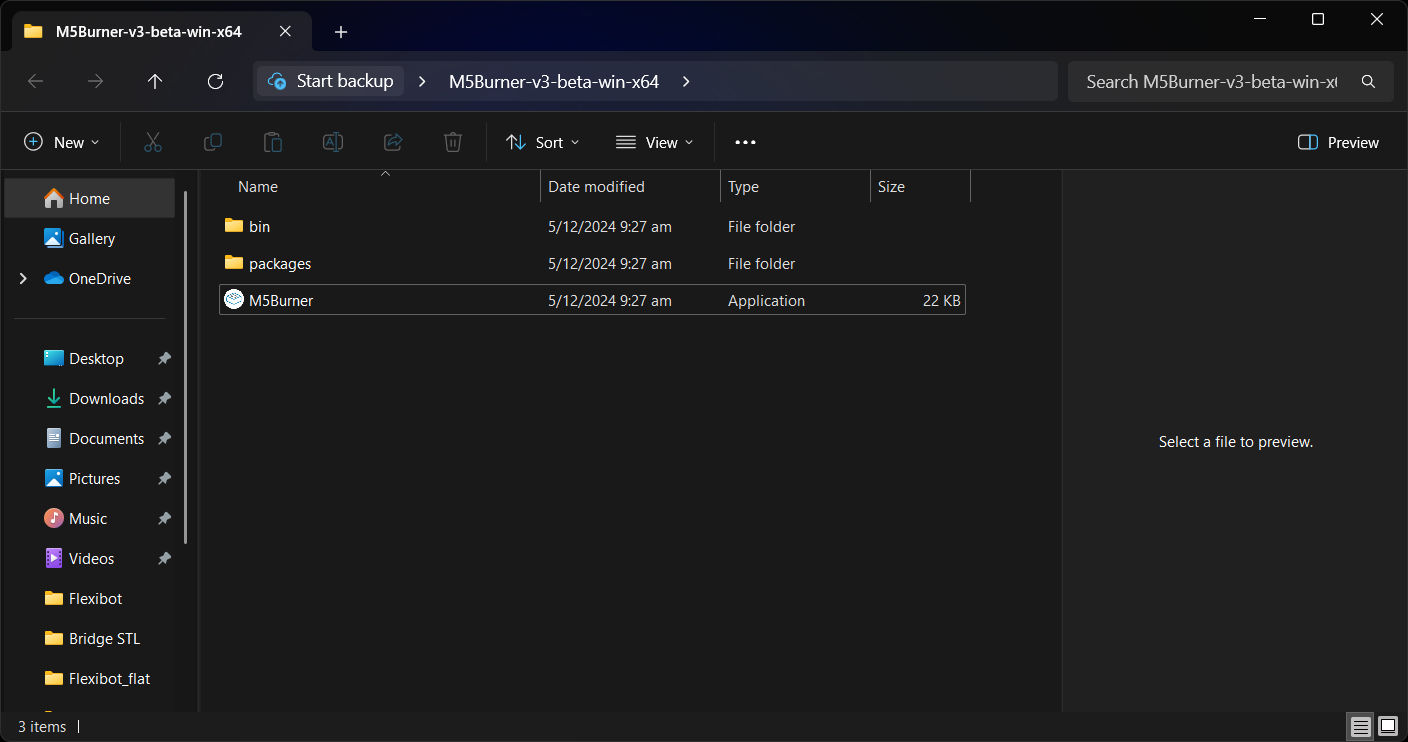
Step 2: Extract your file to your preferred location.
Step 3: Click open the folder and run the M5Burner.exe file.
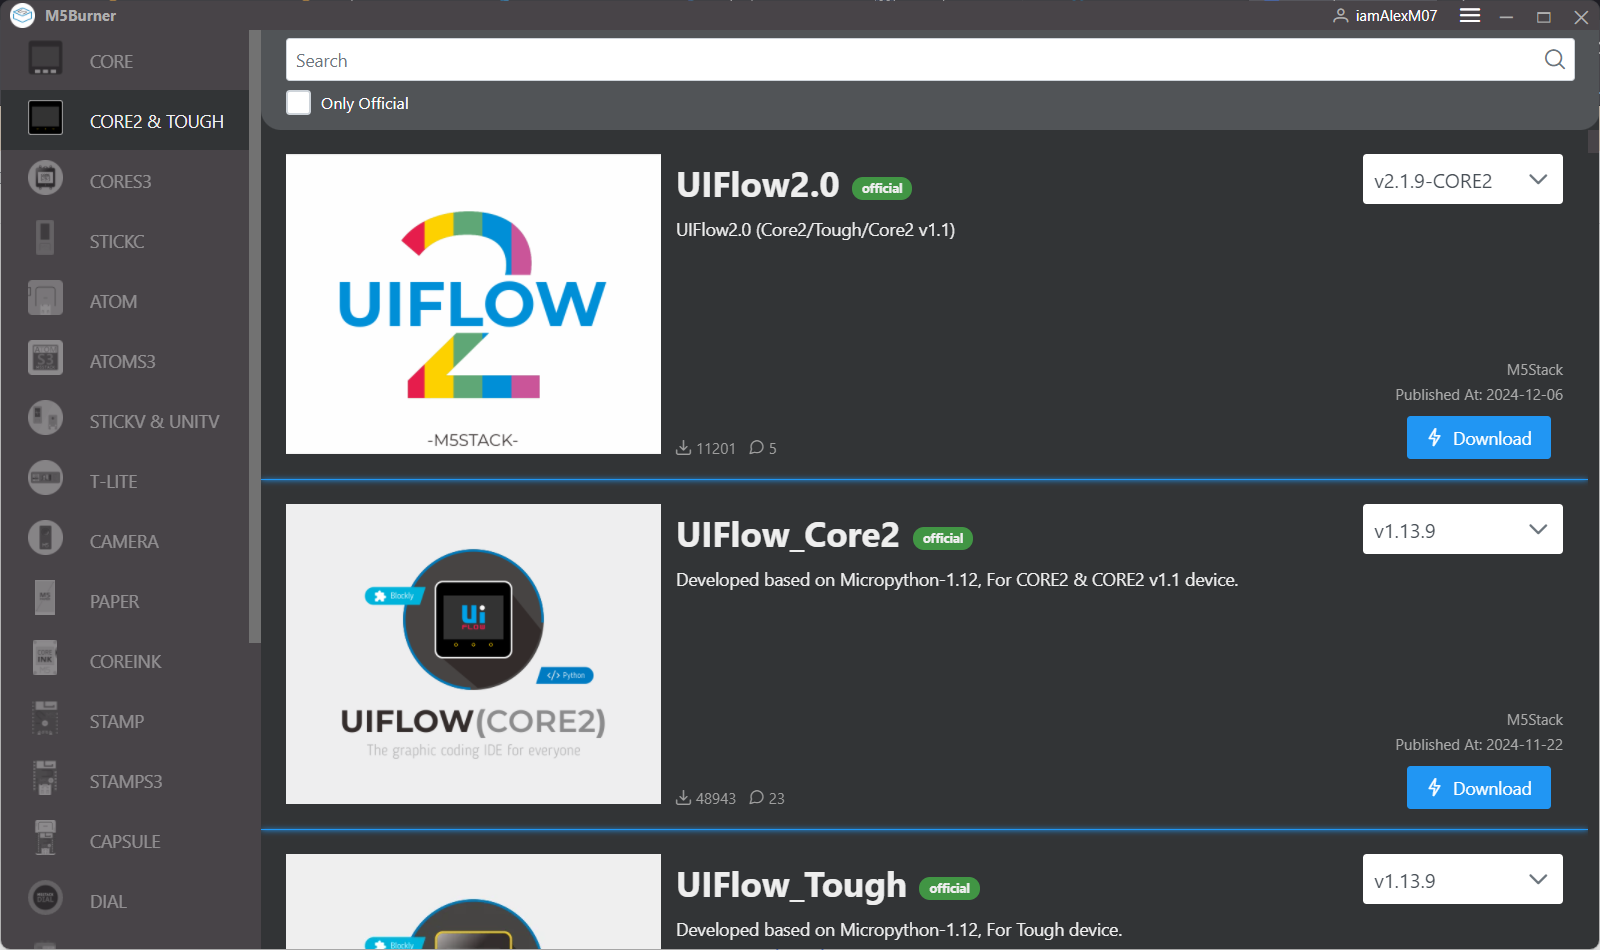
Step 4: Select Core2 & TOUGH which are located on the left side of the M5Burner application. A list of downloadable firmwares will be available to choose from. Download UIFlow_Core2.
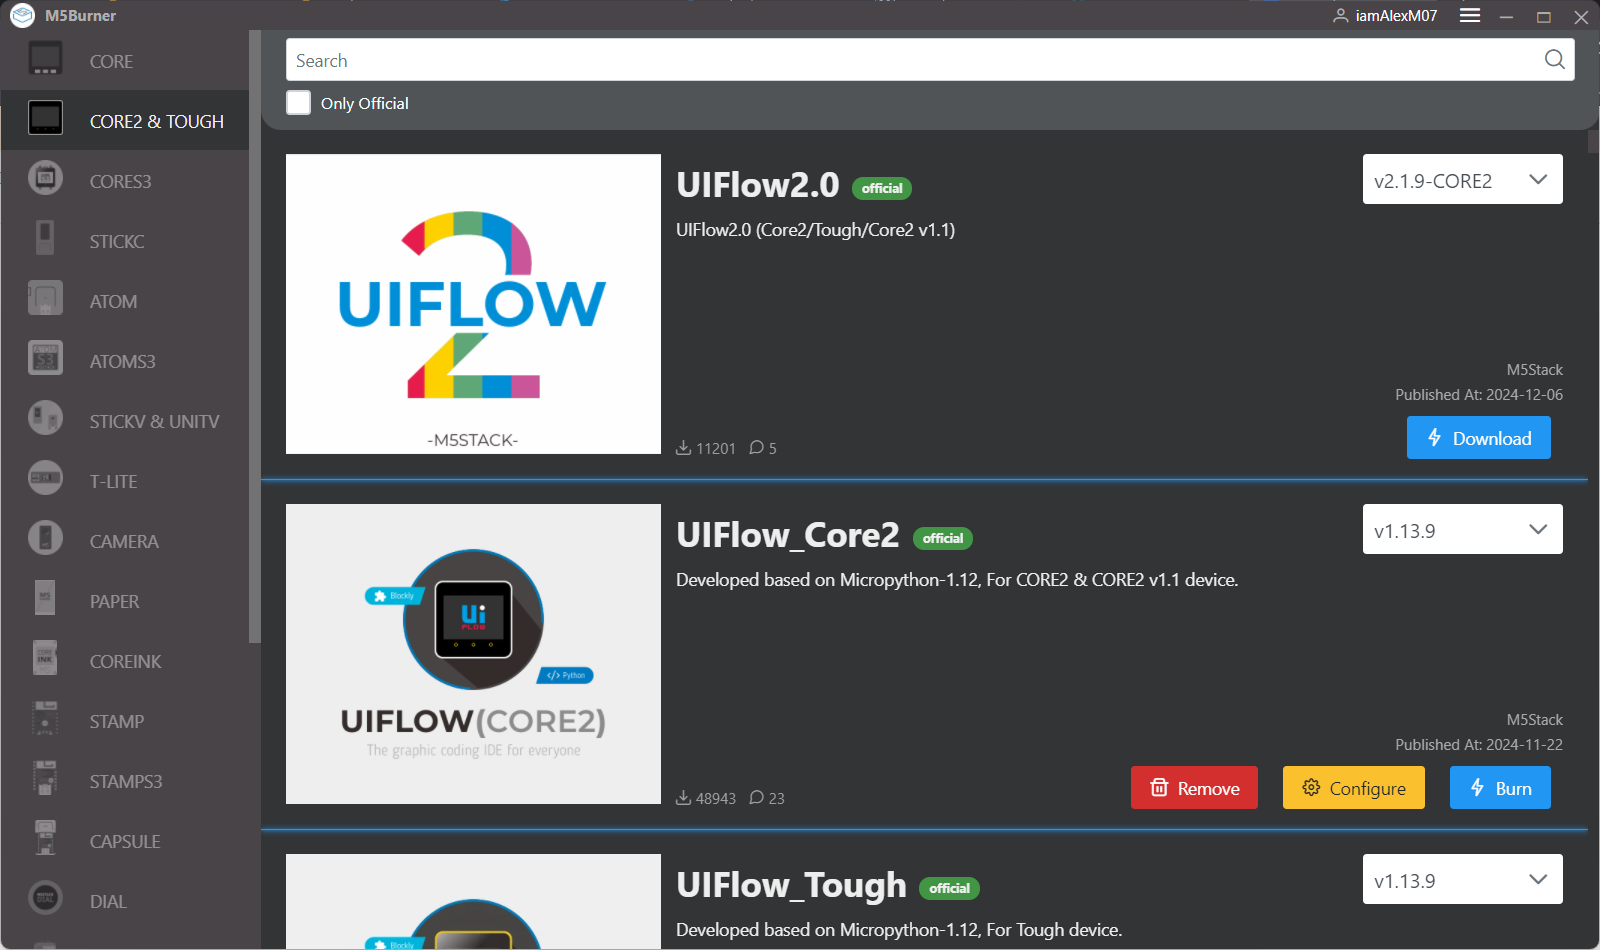
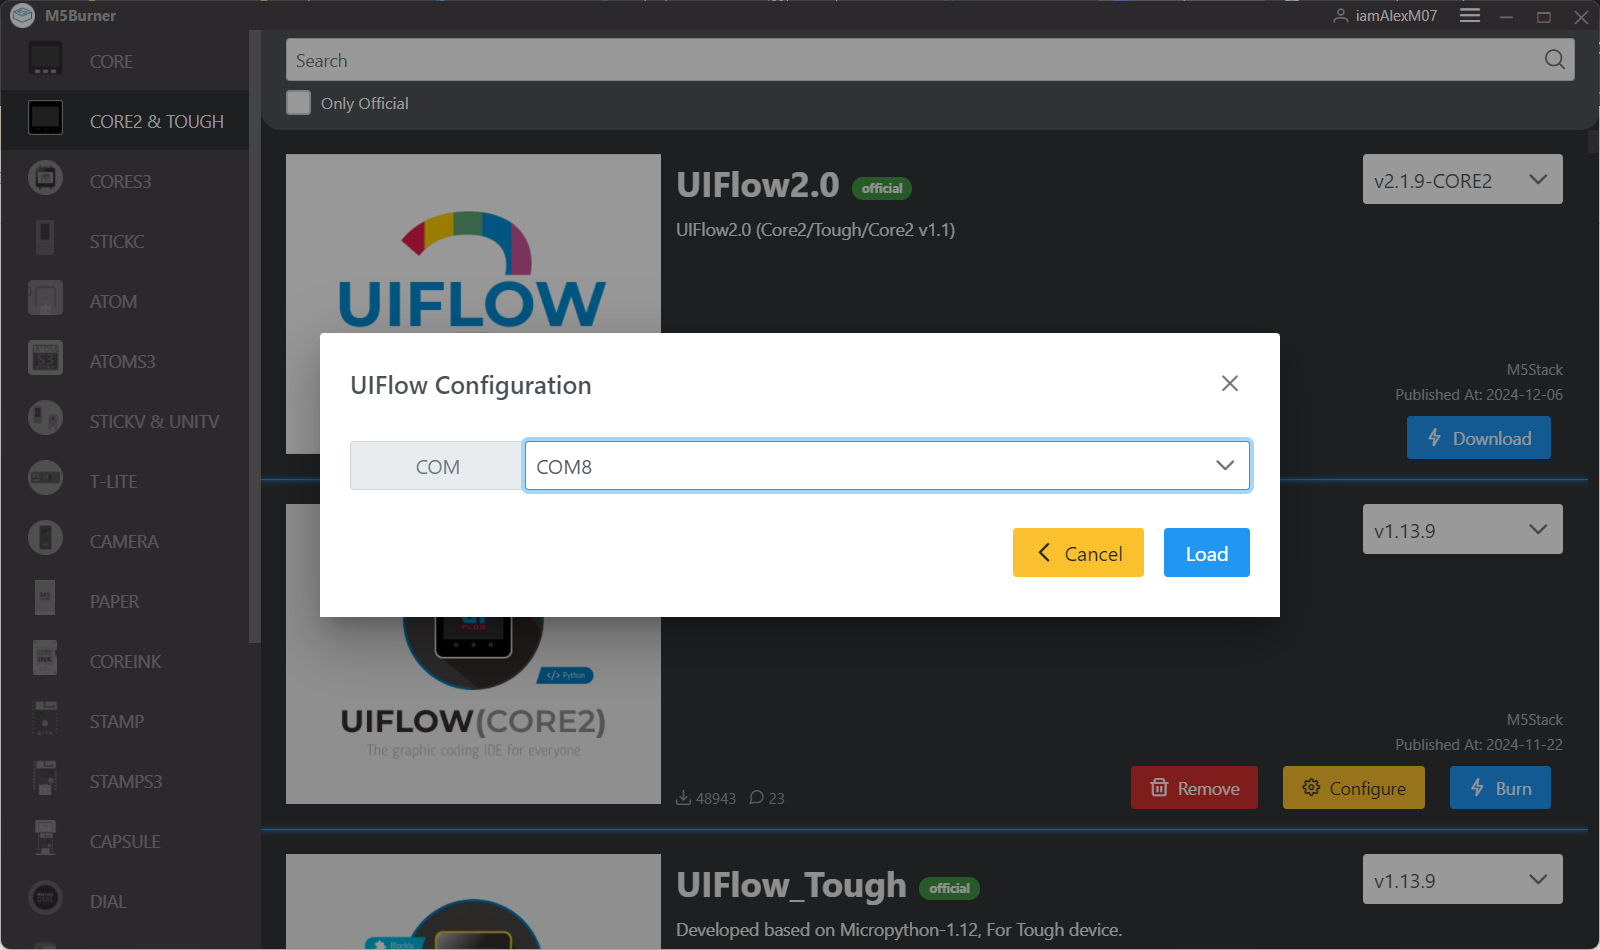
Step 5: You may choose whether you want to access UIFlow through WiFi or through USB by selecting the Configure button.
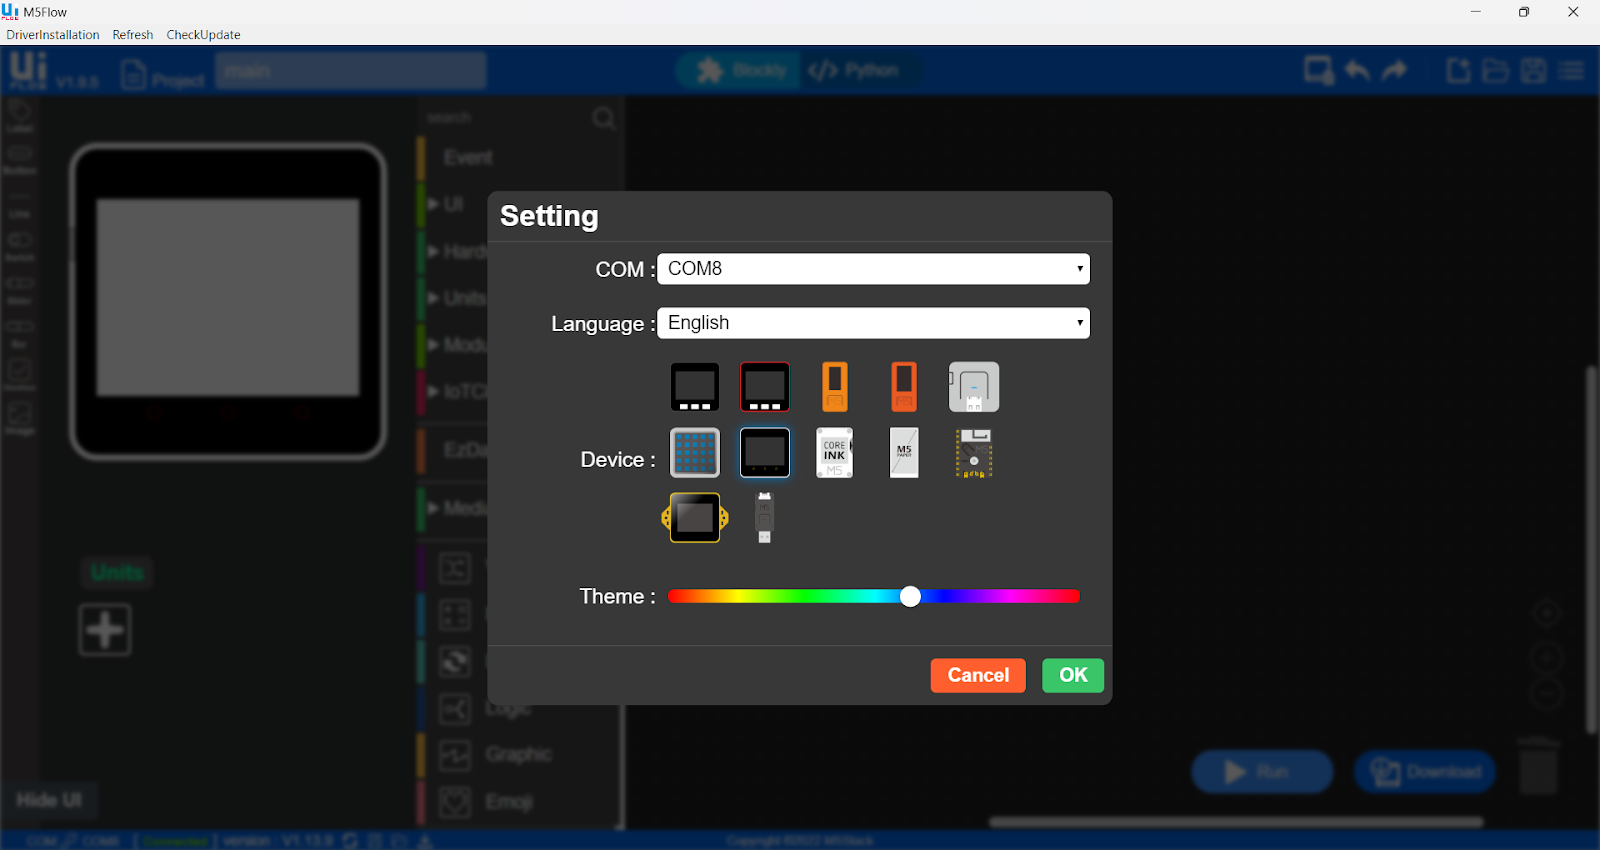
Step 6: A prompt will be asking you for COM. Simply, it is asking you which port you are using on your computer. To determine which port is being used, go to your Device Manager and expand Ports (COM & LPT).
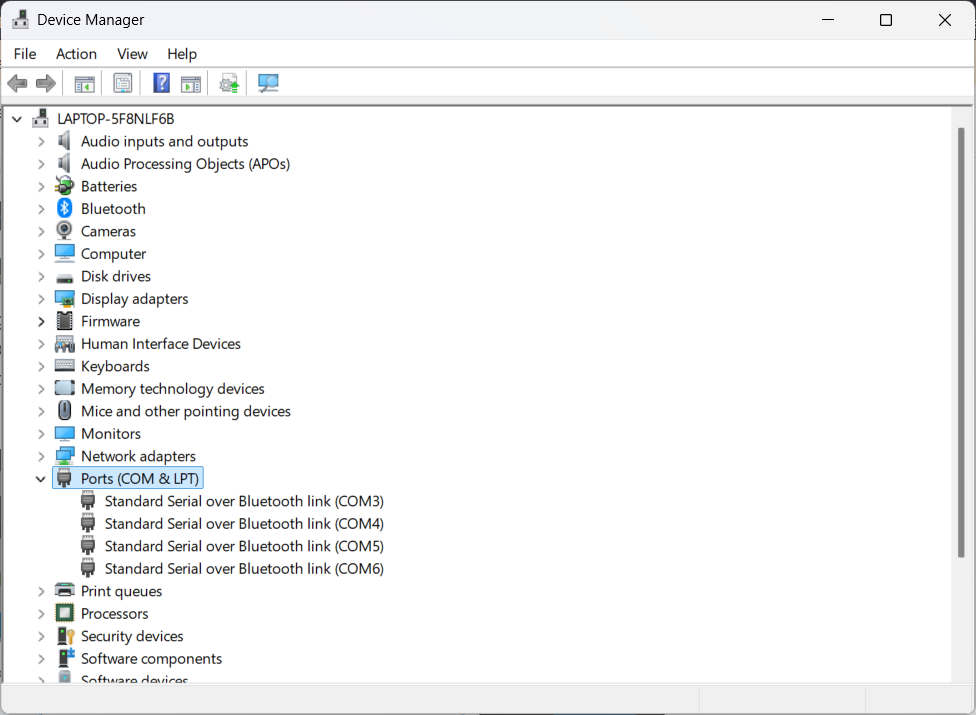
Plug your M5Stack Core2 and you'll be able to determine which port is being used by your M5Stack Core2.

I am now able to determine that my M5Stack Core2 is connected to COM8.
Step 7: You have the choice to choose between starting with USB or WiFi. Fill-up WIFI SSID and WIFI Password if you plan to connect via WiFi. Click Save and click Burn
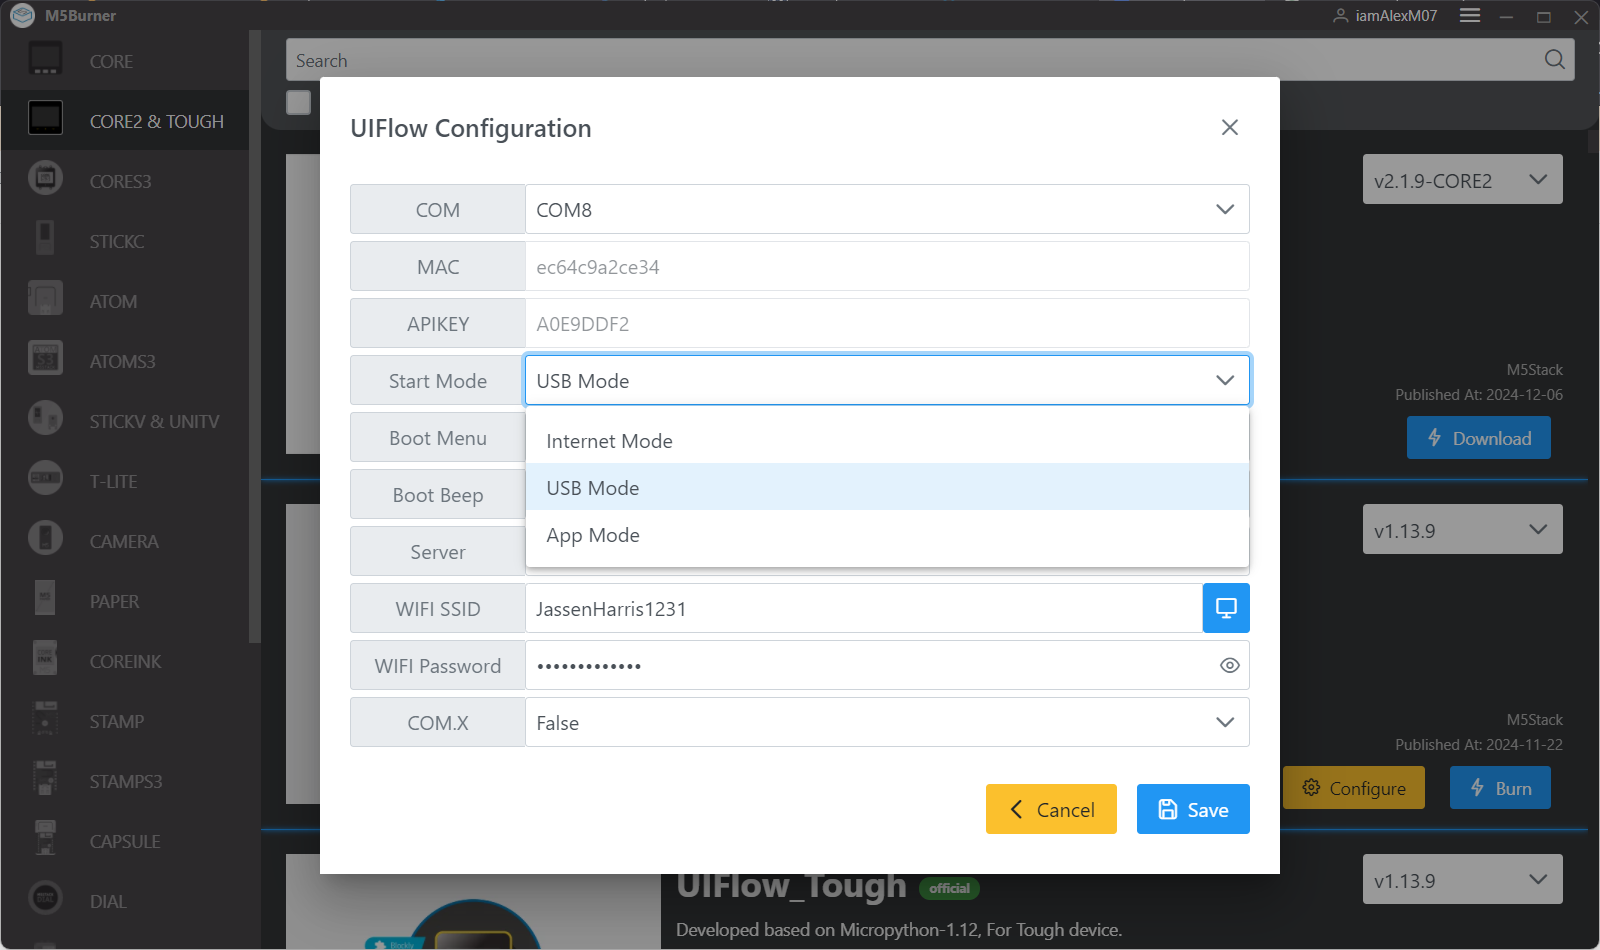
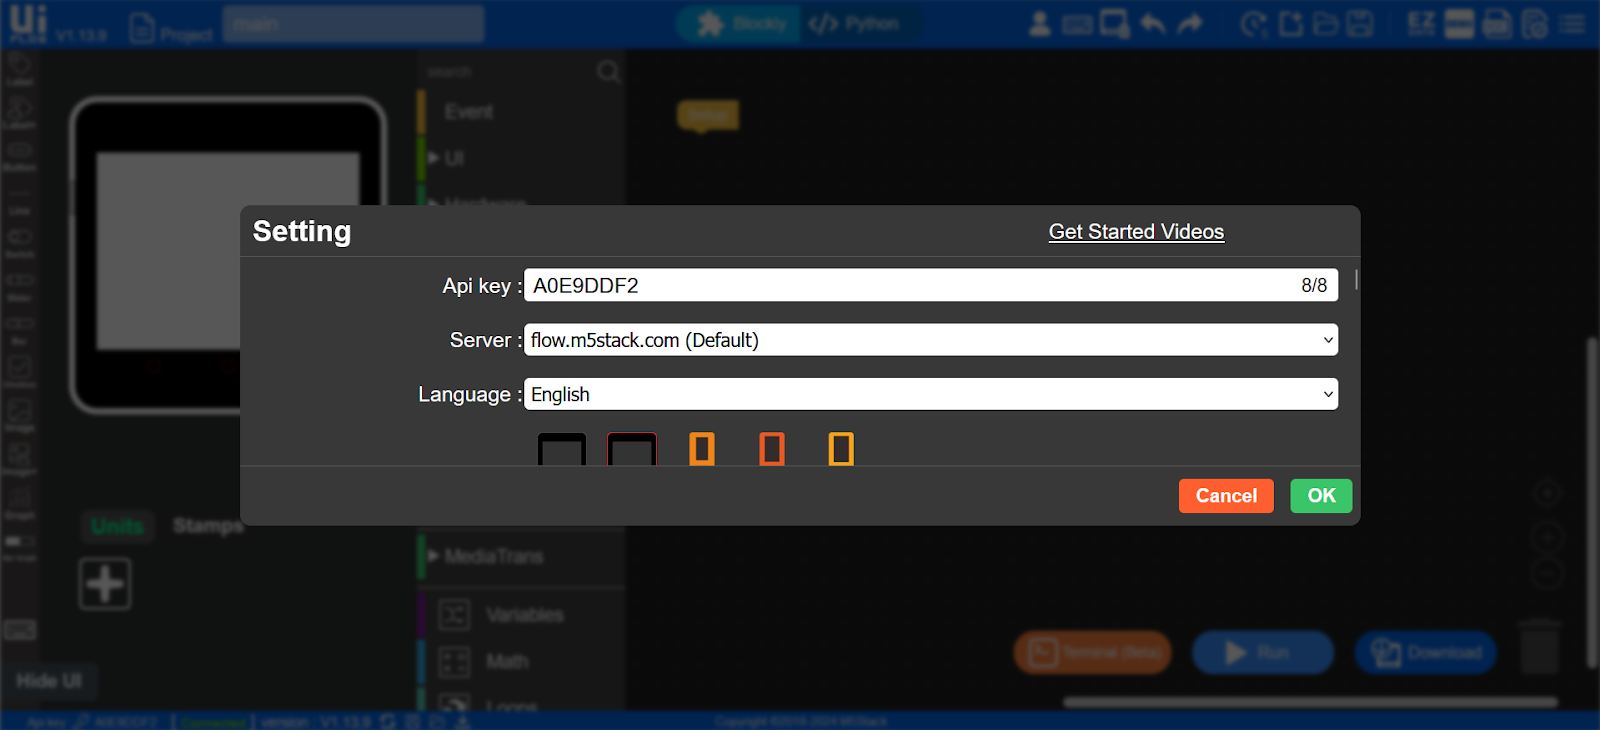
Step 8: If you choose Internet Mode, your M5Stack Core2 will display an API Key which is necessary for the UIFlow Web IDE to work. API Key will be prompted like this:

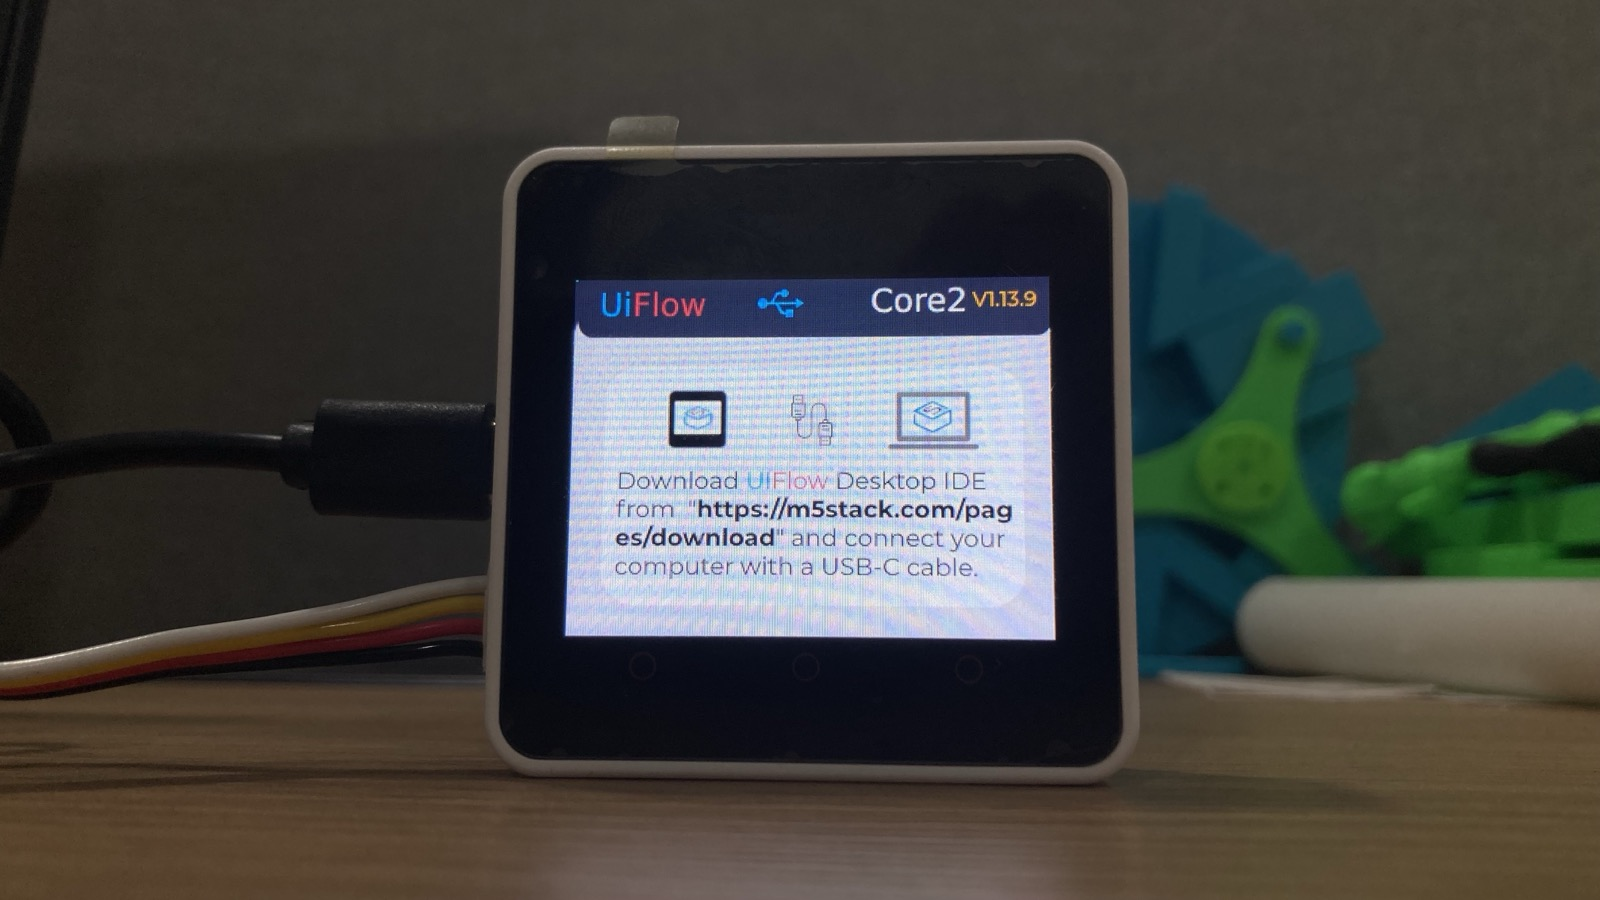
On the other hand, if you choose USB Mode, it will look like this:
UIFlow Web IDE
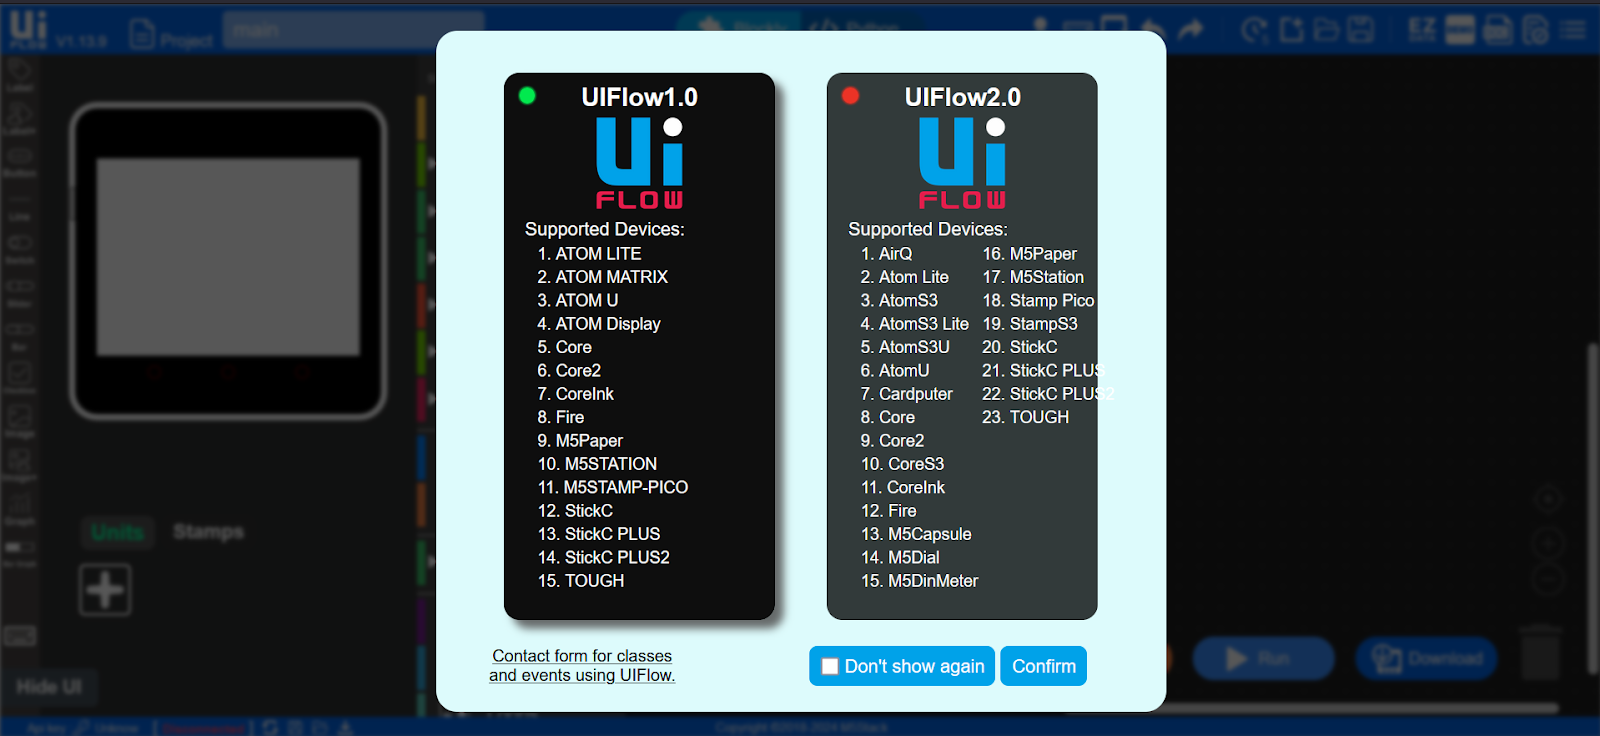
UIFlow Web IDE offers wireless connection through WiFi. To access the web IDE, go to https://flow.m5stack.com/ and choose UIFlow1.0
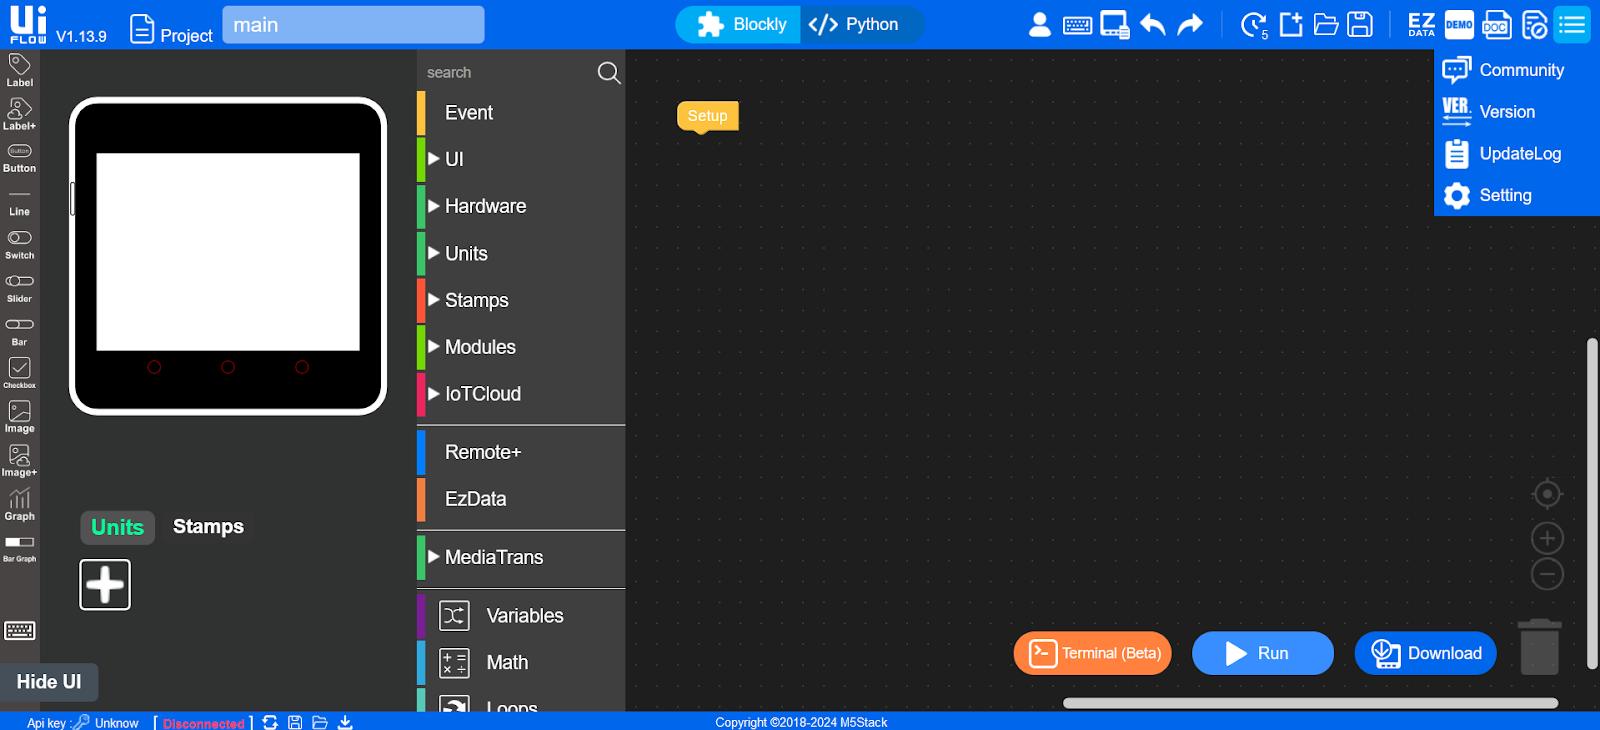
Click the Settings on the upper-left corner of the web IDE.
Type your API Key. Scroll down and select your M5Stack Core2, then hit OK.
Congratulations! You are now connected to your UIFlow Web IDE.
UIFlow Desktop IDE
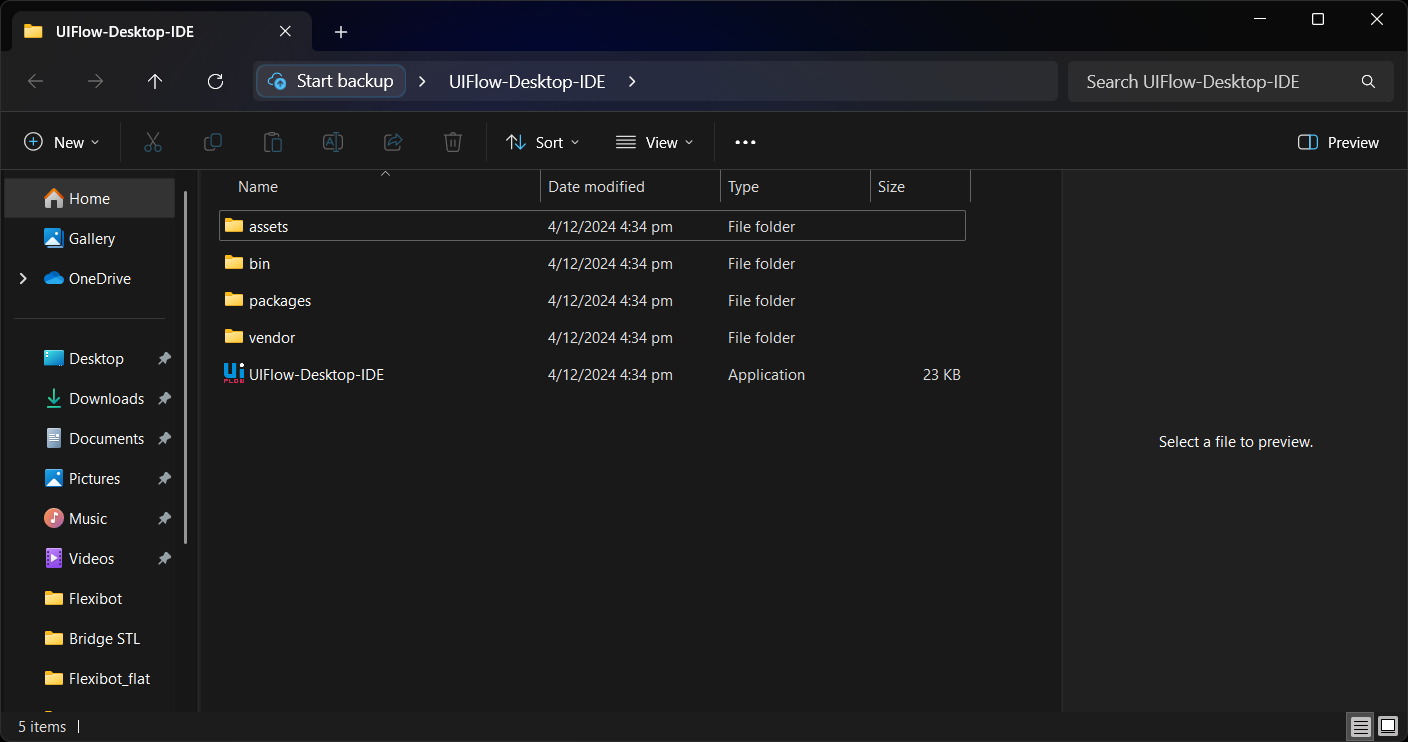
UIFlow Desktop IDE offers offline connectivity by utilizing a USB wired connection to your M5Stack for a stable connection. To download the desktop IDE, click this link -----> https://m5stack.oss-cn-shenzhen.aliyuncs.com/resource/software/UIFlow-Desktop-IDE.zip
Extract the .zip file to a location you prefer and click open the desktop IDE.
Hover your cursor to the upper-left corner and click Settings.

Plug in your M5Stack Core2. We determined earlier which port is the M5Stack Core2 connected. Select your COM and your device, then hit OK.
Congratulations! You are now ready for your first program at UIFlow.
Sample Program
Let's do a simple program that will display facial expressions when a certain button is pressed. Additionally, these buttons will make a sound and vibrate--an indication that it has been pressed.
You should be able to get this result: